Disclaimer: This page has absolutely nothing to do with Axial Control home automation nor InControl HA. It's just for a little fun with Ham radios.
Overview
This guide will step you through how to use your ham radio to connect to other stations digitally using a software-based TNC. This will allow you to connect to other stations operating as a TNC and send and receive messages.
I spent many hours researching how to get this up and running. I was surprised at the lack of any good tutorials on the matter, so I wanted to pass this along to others. Many thanks to KB7ITU for patiently answering my questions and steering me in the correct direction.
Requirements
Here's what you need for this to work.
- A ham radio and at least a technicians license
- Sound card (this tutorial assumes you have a SignaLink USB sound card)
- A cable to connect your sound card to your radio using the data port
- Home computer
- SoundModem94 software from UZ7HO
- EasyTerm software from UZ7HO
SignaLink USB Setup
This tutorial specifically mentions the use of the SignaLink USB sound card. Other sound cards will work, including your own computer's sound card, but this tutorial will not go into the details of using your PC's sound card. Instead, it focuses specifically on the SignaLink sound card.
-
Your SignaLink should have come with a cable that can be used with your radio. It probably included a diagram and some instructions that will step you through how to remove the cover of your SignaLink and install some jumpers specifcally for use with your radio. Please do this now. Make sure your jumpers are tight and use a needle nose plier for simpler installation of the jumpers.
TIP: If at some point you are able to see the PTT light on your SignaLink but your radio is not transmitting, double-check the jumpers inside your SignaLink to verify they are not loose. If all else fails, remove them and reinstall them again.
- SignaLink also includes some instructions about how to install the drivers for your device. Follow the steps to install those drivers.
- Once your SignaLink sound card is installed, you'll want to make sure it is NOT set as the default playback and recording device on your system. This step shows you how to check this in Windows 7, though other versions of Windows will involve similar steps.
- Click on the sound icon in your system tray (lower right hand corner) and choose "Playback devices"
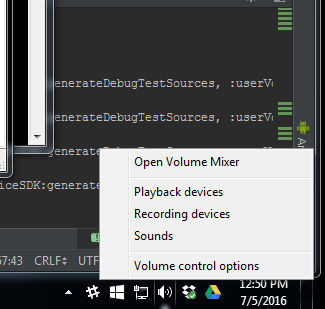
- A list will pop up showing all the sound devices in your system. The USB Audio CODEC is probably the default (this is your SignaLink). Choose your regular system sound card and set it as the default.
- Click on the Recording tab and do the same thing as the previous step.
Radio Setup
- Tune your radio to 145.010 simplex. Make sure it's on the main band (if applicable to your radio). Generally no other settings are required on your radio. You should hear occasional digital traffic on this frequency.
Software Setup
These steps will walk you through how to extract the downloaded software to a separate folder on your desktop.
- Go to your computer's desktop and right click an empty spot and create a new folder called TNC
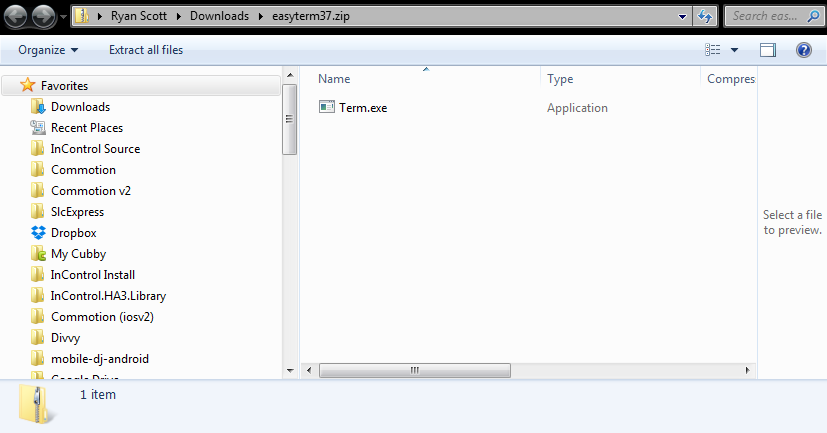
- Open easyterm37.zip that you downloaded in the requirements section above. You should see a window that looks similar to this:
- Click on the Term.exe file and copy it by hitting CTRL+C on your keyboard
- Open up the folder you created in the first step
- Hit CTRL+V to paste the Term.exe file into your TNC folder. You should see the Term.exe file show up shortly if everything went well.
- Repeat steps 2 through 5 for the soundmodem94.zip program downloaded in the requirements section above. Instead of term.exe, you'll be using soundmodem.exe.
- Your finished TNC folder will have two files in it:

SoundModem Setup
- Run soundmodem (usually double-clicking will run it)
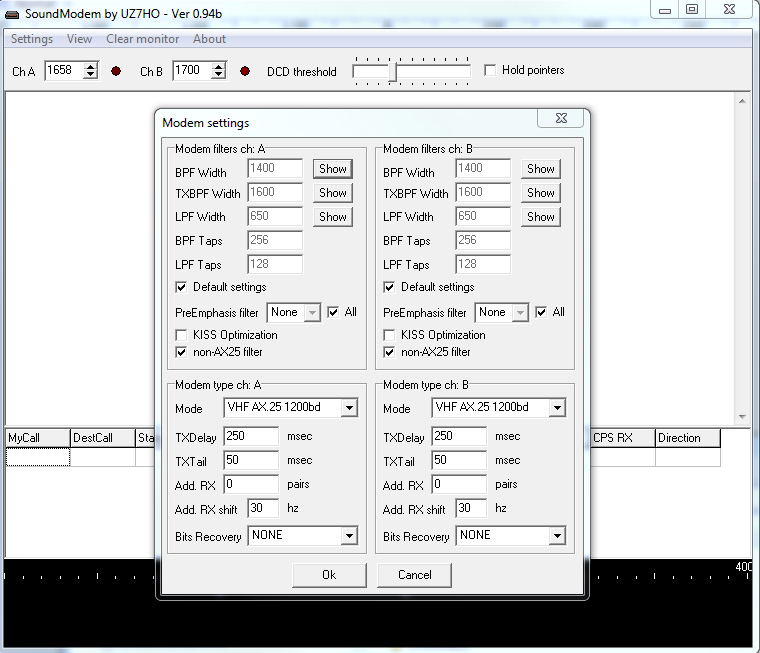
- Go to Settings and choose Modems
- Change your modem ch: A and ch: B to VHF AX.25 1200bd. It should resemble the following:
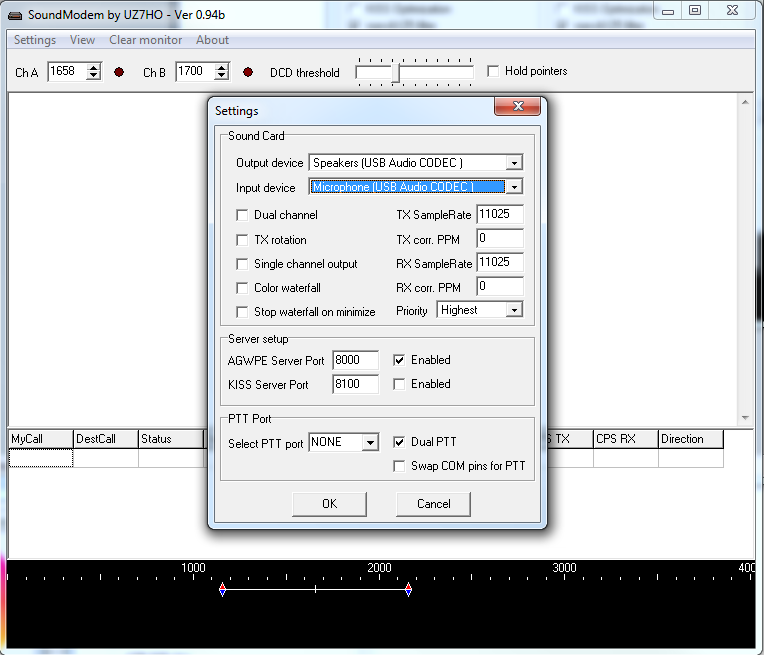
- Go to Settings and choose Devices. Make sure your SignaLink is both the Output device and the Input device. It should look like this:
- It might be helpful to watch SoundModem for a few minutes to make sure you are "seeing traffic" on it. Listen on your radio and you'll occassionally hear a modem chirp. If everything is setup, SoundModem will also hear it and dump out the data that was included with the audible noise you heard. It might look like this:

If you hear noise, but don't see any output on your SoundModem, then you should go back and double-check the settings we've done up to this point. Note also that the "waterfall" at the bottom of SoundModem will change based on the audio coming over your radio. Try to increase the RX volume on your SignaLink to verify that you see a change, if not, your SignaLink may not be properly hooked up to your radio.
Easy Term Setup
- Go ahead and run the Term program now.
- Once it starts up, you can go into Settings/Station Setup (it may start this automatically when you run it the first time.)
- Enter your terminal callsign and mailbox callsign. For the mailbox callsign, I entered my regular callsign followed by a "-1"
- Click OK to close Station Setup
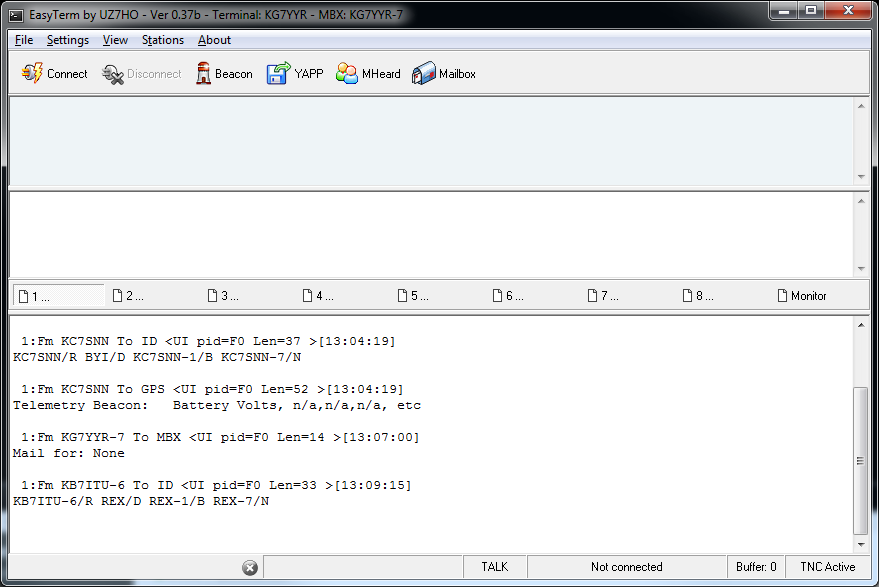
- Take a few minutes to watch this window; it will also update when modem sounds are heard through your radio. After about 10 minutes, my display looks like the following:
Your First Connection
Let's go ahead and make a connection. This tutorial was written for people in the South East Idaho area, so I'm going to refer to some local digipeaters that we'll test with.
- Inside the EasyTerm program, click the "Connect" button.
- Enter your callsign in CallFrom
- Enter "rex" in the CallTo box
- Leave Digipeaters blank.
- Click Connect.
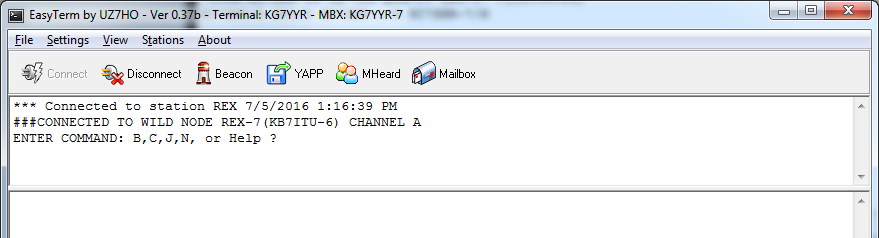
If all goes well, you'll see the following text in the window:
You can send commands back by typing your text in the window and hitting enter. Try to play around with 'H' or help to see what the station is capable of.
Final Step: Send me a message!
As your final test, go ahead and send me a message. Note that I don't keep my radio on all the time, so you may need to find another station. The steps will be similar to what I'm about to outline.
- After you have connected to REX, instruct REX to connect to my mailbox by typing C kg7yyr-1 then hit enter.
- After you get a connection, start sending a message by typing s kg7yyr then hit enter
- Follow the prompts on the screen to send your message.
Have fun!